If you’ve ever had the pleasure of enjoying cavatelli at an authentic Italian restaurant or even in a homey Italian kitchen, you know it’s not just pasta—it’s love in every bite. The delicate, hand-shaped ridges are like mini bowls that cradle sauce perfectly, delivering flavor in every forkful. But what if I told you that you can bring this same magic into your own kitchen? Yep, making cavatelli from scratch might just become your new favorite weekend project. So roll up your sleeves, and let’s dive into the wonderful world of homemade cavatelli!
Table of Contents
Introduction to Cavatelli: A Taste of Tradition
What is Cavatelli?
First things first—what exactly is cavatelli? These tiny, ridged pasta shells are a hallmark of southern Italian cuisine. Unlike some pasta shapes that require heavy machinery, cavatelli are traditionally made by hand. Their soft, doughy texture and ridged surface make them perfect for clinging to hearty sauces like marinara, pesto, or even a classic Bolognese. Think of them as little boats for your favorite pasta toppings! 🚤🍝
Origins and History of Cavatelli Pasta
Cavatelli traces its roots back to Italy’s Puglia and Molise regions. Back in the day, pasta like this was a staple of the cucina povera (peasant kitchen), as it required only basic ingredients like flour and water. Despite its humble beginnings, cavatelli have since become a symbol of Italian culinary craftsmanship. Making them by hand is a tradition passed down through generations—a labor of love that connects families and friends over the dinner table.
Why Make Cavatelli at Home?
Benefits of Homemade Pasta
Sure, grabbing a bag of store-bought pasta is convenient, but there’s something magical about making your own. Not only is the taste fresher and richer, but the process itself is therapeutic. Think of it like kneading dough for bread or painting a picture—it’s all about creativity and care.
Plus, homemade cavatelli gives you complete control over the ingredients. Want a gluten-free version? You can do that. Need to amp up the nutrition with whole wheat flour? No problem.
“Homemade pasta is more than just a meal—it’s an experience that nourishes both the body and the soul.”
Ingredients for Homemade Cavatelli

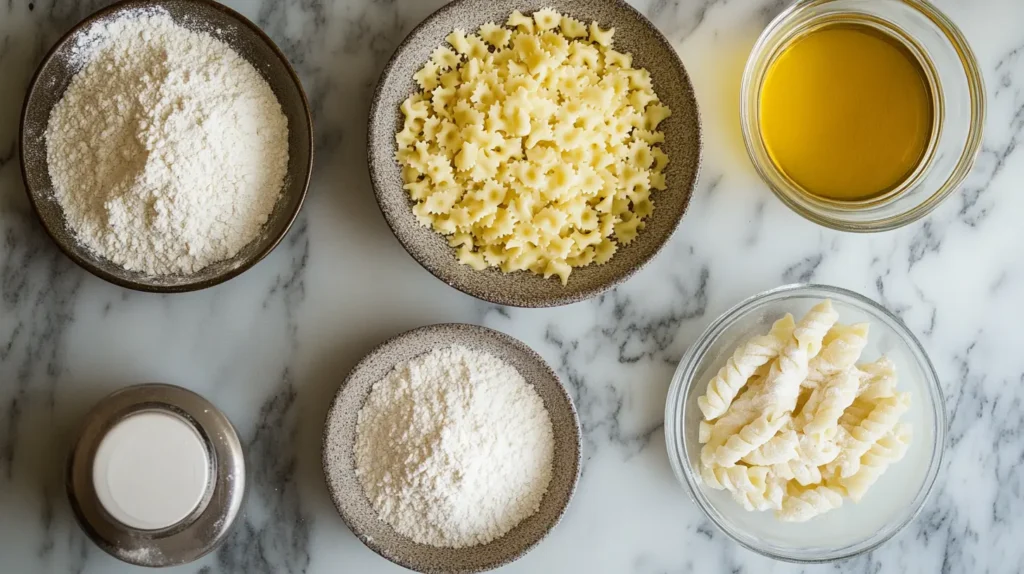
Let’s get down to business. You’ll be happy to know that the ingredients for cavatelli are as simple as they come—just a few pantry staples! Here’s what you’ll need:
| Ingredient | Quantity |
|---|---|
| All-purpose flour | 2 cups (plus extra) |
| Semolina flour (optional) | 1 cup |
| Warm water | About 1 cup |
| Olive oil | 1 tablespoon (optional) |
| Salt | A pinch |
Semolina flour isn’t required, but it adds a slightly coarser texture and authentic flavor. If you don’t have it, don’t sweat it—regular all-purpose flour will do just fine.
Tools and Equipment Needed
Basic Kitchen Tools for Pasta Making
Here’s the best part: you don’t need fancy equipment to make cavatelli! Most of what you need is probably already in your kitchen:
- A mixing bowl (for the dough).
- A clean countertop or cutting board (your workspace).
- A fork or your hands (to mix the dough).
- A knife or bench scraper (to cut the dough into pieces).
Special Equipment to Enhance Your Pasta Game
If you’re feeling fancy, a cavatelli board—a small, grooved wooden board—can help create those signature ridges. No board? No problem. You can use a fork or even the back of a cheese grater to achieve similar results. Talk about resourceful!
Step-by-Step Homemade Cavatelli Recipe
This is where the magic happens! Making cavatelli from scratch is a hands-on process that’s equal parts fun and rewarding. Let’s break it down step by step:
1. Preparing the Dough
- Mix the flours: Combine 2 cups of all-purpose flour and 1 cup of semolina flour (if using) in a large bowl. Add a pinch of salt for flavor.
- Add water gradually: Slowly pour in the warm water, about ¼ cup at a time, mixing with a fork or your hands. You’re aiming for a slightly sticky but pliable dough.
- Knead the dough: Once it starts coming together, transfer it to a floured surface and knead for 8–10 minutes. You want a smooth, elastic dough that bounces back when poked.
- Let it rest: Wrap the dough in plastic wrap and let it rest at room temperature for 30 minutes. This allows the gluten to relax, making it easier to roll and shape.
Pro Tip: If the dough feels too dry, add a teaspoon of water at a time. Too sticky? Dust your hands with a bit of flour.
2. Shaping the Cavatelli
- Divide the dough: Cut the dough into smaller portions to make it easier to work with.
- Roll it out: Roll each portion into a long rope, about ½ inch thick. Think of it like rolling Play-Doh as a kid—it’s oddly satisfying!
- Cut into pieces: Slice the rope into 1-inch pieces.
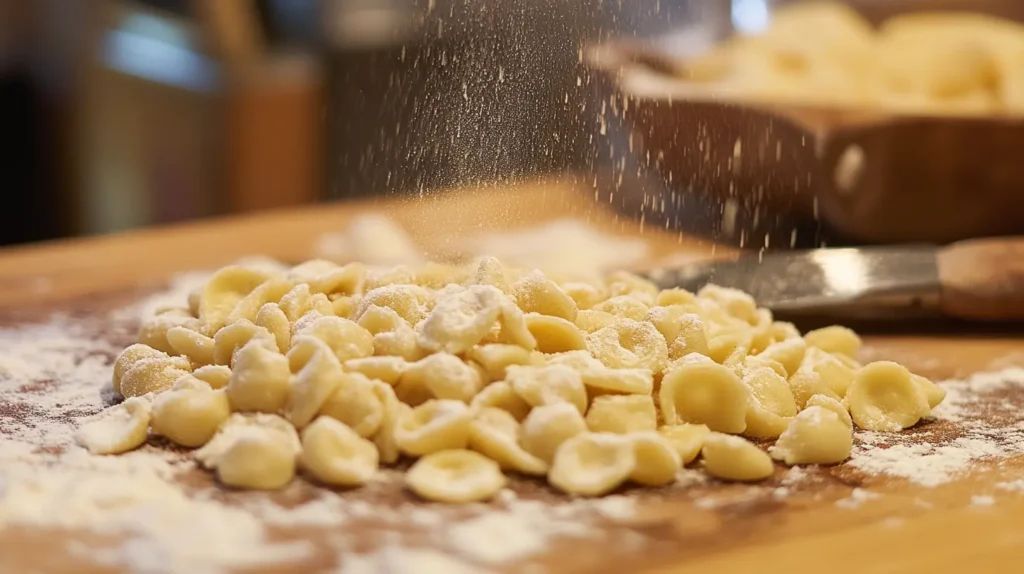
- Shape the cavatelli: Take each piece and press it against a cavatelli board, fork, or your thumb to create ridges. Roll it slightly so it curls into a hollow shell.
Fun Fact: The ridges aren’t just for looks—they help the sauce cling to the pasta, ensuring every bite is full of flavor!
3. Cooking the Cavatelli
- Boil the water: Bring a large pot of salted water to a boil.
- Cook the pasta: Drop the cavatelli into the boiling water and stir gently. Fresh pasta cooks quickly—usually within 2–3 minutes. You’ll know they’re done when they float to the surface.
- Drain and serve: Scoop the pasta out with a slotted spoon and transfer it directly into your sauce of choice. Toss to coat, and you’re ready to dig in! 🍽️
Tips for Perfect Cavatelli Every Time
Common Mistakes to Avoid
- Too much flour: Adding too much flour can make the dough dry and tough. Use just enough to prevent sticking.
- Overcooking the pasta: Fresh cavatelli cooks fast! Don’t leave it in the boiling water for too long, or it’ll turn mushy.
Expert Techniques for Flawless Results
- Keep your workspace floured but not overly dusty.
- If you’re making cavatelli for the first time, practice shaping a few pieces before you dive in—it gets easier with time!
Popular Sauces and Pairings for Cavatelli
You’ve just made a batch of fresh cavatelli—so what’s next? The sauce, of course! Pairing the right sauce with cavatelli is like choosing the perfect dance partner. Here are some classic and creative ideas to get you inspired:
Classic Italian Sauces for Cavatelli
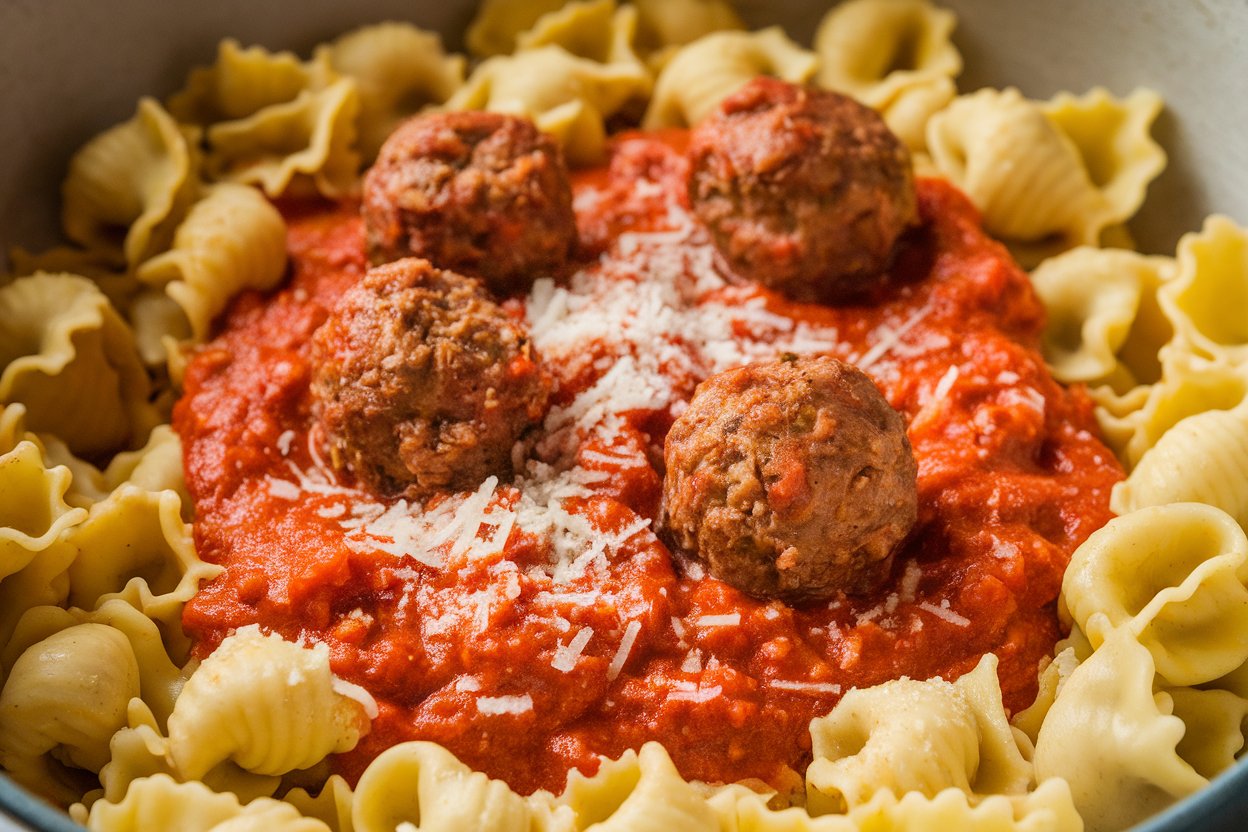
- Marinara Sauce: A simple tomato-based sauce flavored with garlic and basil is a timeless pairing. It highlights the pasta’s texture without overpowering it.
- Garlic and Olive Oil (Aglio e Olio): Perfect for a light, flavorful dish. Add some crushed red pepper for a spicy kick! 🌶️
- Pesto Sauce: Cavatelli’s ridges catch the pesto beautifully, ensuring every bite is bursting with fresh basil and parmesan goodness.
Creative Modern Pairings
- Creamy Alfredo Sauce: For those who love a rich, indulgent twist, Alfredo sauce transforms cavatelli into comfort food heaven.
- Vegetable Ragù: A hearty blend of zucchini, eggplant, and mushrooms in a tomato-based sauce is a great vegetarian option.
- Butternut Squash Puree: Sweet and savory, this puree works wonderfully with the soft texture of cavatelli. Add some crispy sage leaves for an extra layer of flavor.
Pro Tip: Always toss your cavatelli in the sauce right after draining—it helps the pasta absorb the flavors while it’s still warm.
Common Problems and Solutions When Making Cavatelli
No one’s perfect, and pasta-making is no exception. If you hit a snag, don’t worry—here’s how to troubleshoot common issues:
Dough Too Sticky or Too Dry: How to Fix It
- Too Sticky: Sprinkle a small amount of flour onto your dough and knead again until it’s easier to handle.
- Too Dry: Add a teaspoon of water at a time, kneading in between, until the dough becomes soft and pliable.
Cavatelli Losing Shape During Cooking
- This can happen if the dough is too soft or the pasta wasn’t shaped firmly. Make sure to press firmly when forming the ridges.
- Alternatively, let the shaped cavatelli dry for about 15 minutes before cooking. This helps them hold their structure better.
Storing and Freezing Homemade Cavatelli
So, you’ve made more cavatelli than you can eat in one sitting—what now? Luckily, fresh pasta is easy to store for later use.
How to Store Fresh Cavatelli
- Dust the shaped cavatelli with flour to prevent sticking.
- Place them on a baking sheet in a single layer and cover with a clean kitchen towel.
- Store in the refrigerator for up to 2 days.
Freezing for Later Use
Want to save your cavatelli for a rainy day? Freezing is your best bet:
- Lay the cavatelli out on a floured baking sheet.
- Pop the tray in the freezer for 1–2 hours, until the pasta is firm.
- Transfer the frozen cavatelli into a freezer-safe bag or container. They’ll keep for up to 3 months!
Pro Tip: No need to thaw frozen cavatelli before cooking. Just toss them straight into boiling water—they’ll take a minute or two longer to cook.
Homemade Cavatelli Recipe Variations
While traditional cavatelli is made with just flour and water, there are endless ways to put your own spin on this classic pasta.
Whole Wheat Cavatelli Recipe
Substitute whole wheat flour for half (or all) of the all-purpose flour in the recipe. It gives the pasta a nuttier flavor and boosts its nutritional value.
Nutrition Facts (Per Serving)
| Nutrient | Amount |
|---|---|
| Calories | 180 |
| Protein | 6g |
| Fiber | 4g |
| Carbohydrates | 34g |
Ricotta Cavatelli for a Creamier Texture
Adding ricotta cheese to your dough results in a softer, pillowy pasta that melts in your mouth. To make ricotta cavatelli:
- Mix 1 cup of ricotta cheese into the flour before adding water.
- Adjust the water as needed to form a soft dough.
Health Benefits of Homemade Cavatelli
Making pasta at home doesn’t just taste better—it’s often better for you, too. Here’s why:
Nutritional Value of Traditional Cavatelli
Since cavatelli is made from simple ingredients, it’s free from preservatives and additives often found in store-bought pasta. Pair it with fresh veggies and lean proteins for a well-balanced meal.
Making a Healthier Version of Cavatelli
You can easily customize cavatelli to fit your dietary needs. Use whole wheat or gluten-free flour for a higher fiber content or incorporate pureed vegetables like spinach or beets for added nutrients and a fun pop of color.
Cavatelli in Italian Culture and Cuisine
Regional Variations Across Italy
While cavatelli are most associated with southern Italy, different regions have their own takes on this beloved pasta. In Calabria, for example, they might add a pinch of chili powder to the dough for a spicy kick, while in Abruzzo, cavatelli are often served with lamb ragù.
Cavatelli in Traditional Italian Celebrations
Cavatelli often make an appearance during family gatherings and holidays. Picture this: a big table full of relatives shaping pasta together, laughing, and telling stories. It’s not just about the food—it’s about the memories created along the way.
“In Italy, pasta isn’t just a dish; it’s a celebration of life, love, and family.”

Frequently Asked Questions About Homemade Cavatelli
Can I Make Cavatelli Without a Special Board?
Absolutely! You can use the back of a fork, a cheese grater, or even your fingers to create those signature ridges. It’s all about improvisation!
How Long Does It Take to Make Cavatelli?
From start to finish, making cavatelli takes about 1–1.5 hours. It’s the perfect weekend project when you want to slow down and enjoy the process.
Conclusion: Bringing the Taste of Italy to Your Kitchen
Making homemade cavatelli is more than just cooking—it’s an adventure. From kneading the dough to shaping each piece with care, you’re not just creating pasta; you’re crafting memories. Whether you serve it with a classic marinara or a bold pesto, your homemade cavatelli will transport you straight to Italy with every bite. 🇮🇹
So what are you waiting for? Grab your flour, roll up your sleeves, and let the pasta-making magic begin!

